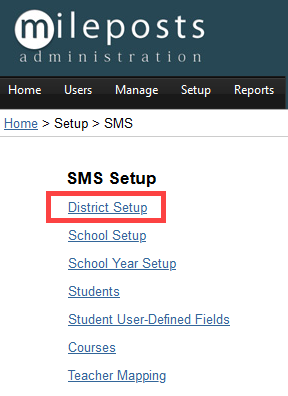
SMS Setup (Complete Guide)

District Setup
Districts

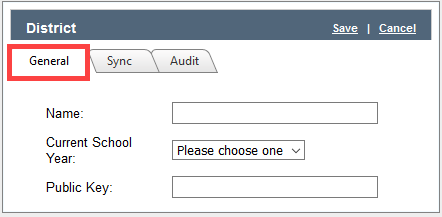
Add new District/Edit


General Tab
Name: District Name
Current School Year
Public Key
Sync Tab
Sync Students: Checked =True
True/Yes
False/No
Sync Enrollment: Checked =True
True/Yes
False/No
Sync Classes: Checked =True
True/Yes
False/No

Audit: Audit Information is a basic timeline including the following:
Created on
Created by
Modified on
Modified by
Sync Information
Sync Source
Sync ID
Sync Time
Click Save

Refresh list: Refreshes the table

Table
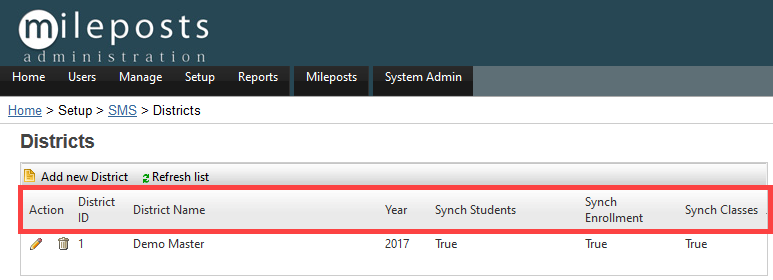
Action
Delete

Table

District ID
District ID number
District Name
Year: Current School Year
Sync Students
True/Yes
False/No
Sync Enrollment
True/Yes
False/No
Sync Classes
True/Yes
False/No
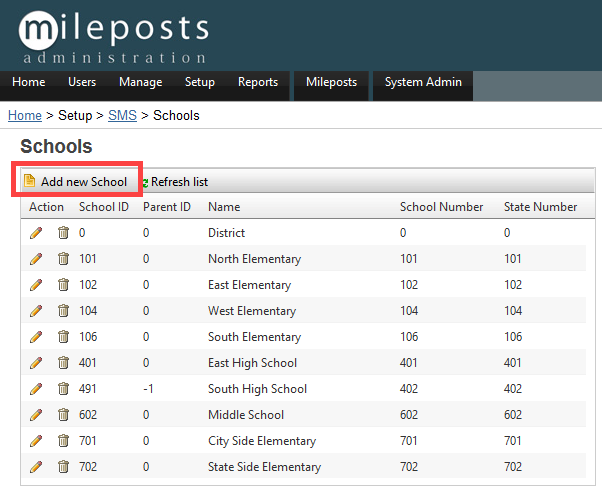
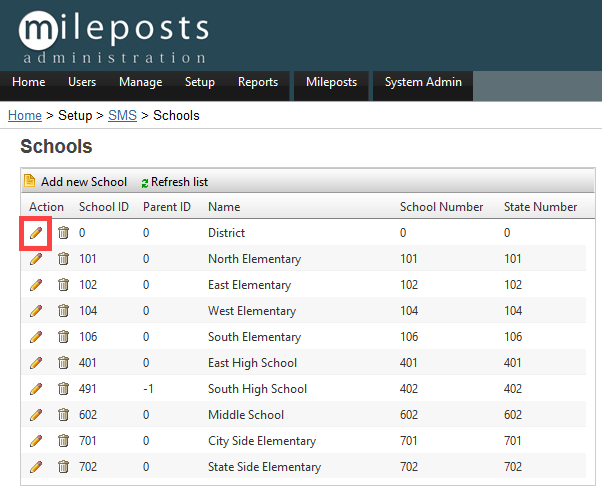
School Setup

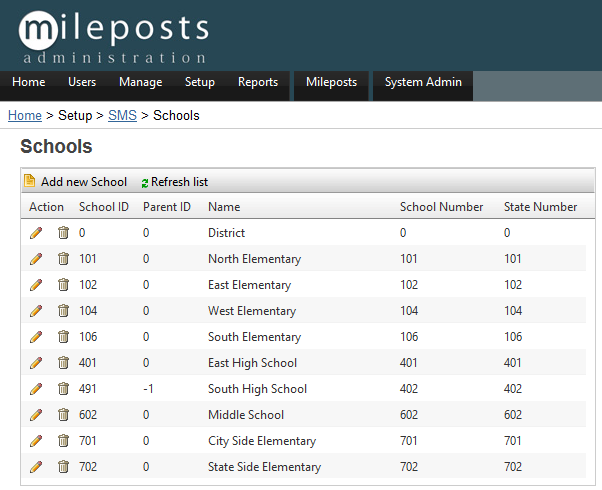
Schools
Add new School/Edit
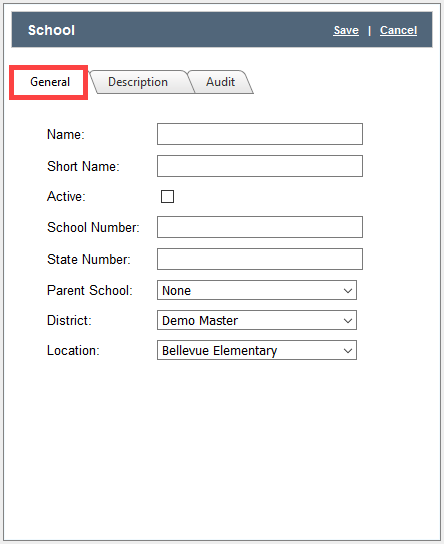
General Tab
Name: School Name
Short Name: School Name Abbreviated/Nick Name
Active
Yes
No
School Number
State Number
Parent School
District
District Name
Location
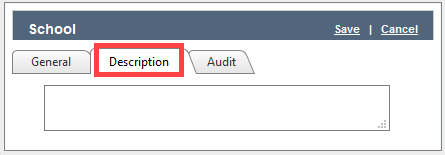
Description: An area to enter a detailed description
Audit: Audit Information is a basic timeline including the following:
Created on
Created by
Modified on
Modified by
Sync Information
Sync Source
Sync ID
Sync Time
Click Save
Refresh list: Refreshes the table

Table

Action
Delete

Table
School ID
Parent ID
Name: School Name
School Number
State Number: School State Number
School Year Setup

School Years

Filter
Year: Year select dropdown
Change global Current School Year: Year selector for selecting the current year

Clone school year: Used to create a duplicate of the current year to be used for the next year

Add new School Year/Edit


General Tab
School Name: Choose a school From the dropdown
School Year
Start Date: School Year Start Date
End Date: School Year End Date

Audit: Audit Information is a basic timeline including the following:
Created on
Created by
Modified on
Modified by
Sync Information
Sync Source
Sync ID
Sync Time
Click Save
Refresh List: Refreshes the table

Table

Action
Delete

Table

School: School Name
Year: The year the user is working in
Start Date: School Year Start Date
End Date: School Year End Date
Navigate
Terms

Add new Term/Edit


General Tab
Term
School: School Name
School Year
Name: Term Name
Start Date: Term Start Date
End Date: Term End Date

Audit: Audit Information is a basic timeline including the following:
Created on
Created by
Modified on
Modified by
Sync Information
Sync Source
Sync ID
Sync Time
Click Save
Refresh list: Refreshes the table

Table

Action
Delete

Table
School
Year
Name
Start Date: Term Start Date
End Date: Term End Date
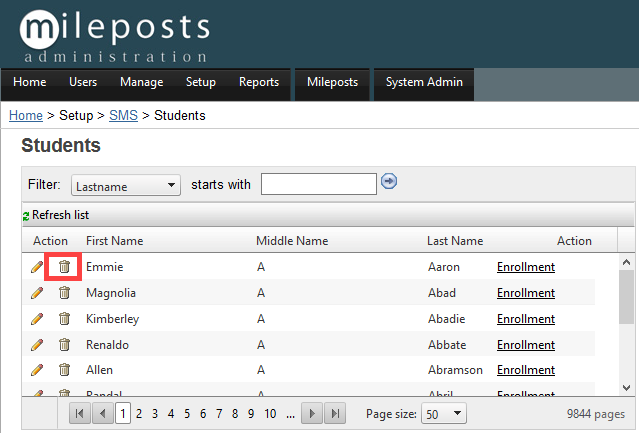
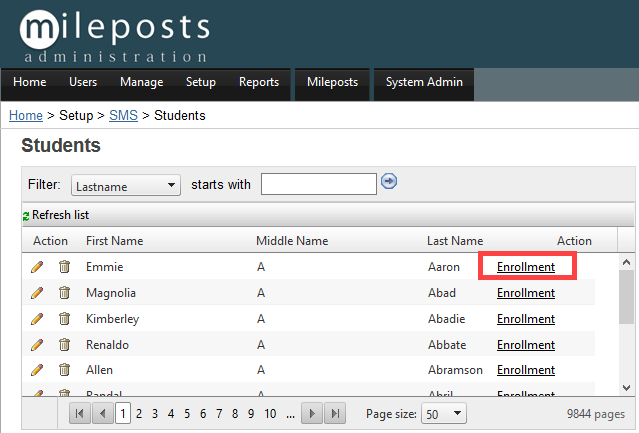
Students
Student: A table of all students in the Mileposts system
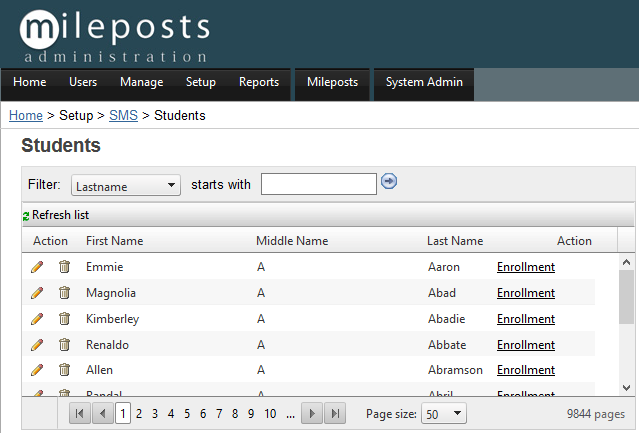
Filter
Last Name
First Name
School
Starts with: Type at least 3 characters to filter students. The more characters the narrower the results
Click the blue arrow to search

Refresh list: Refreshes the table

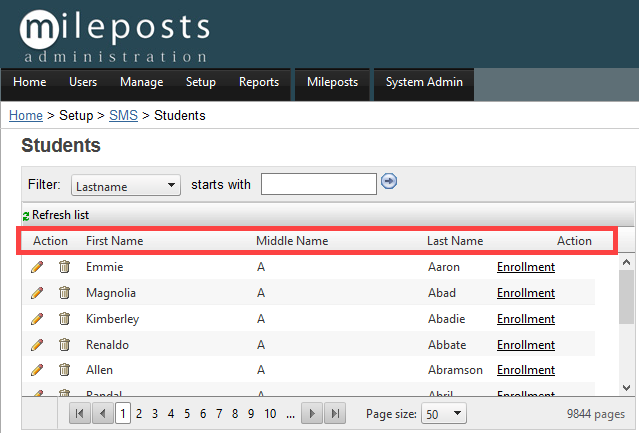
Table
Action
Edit
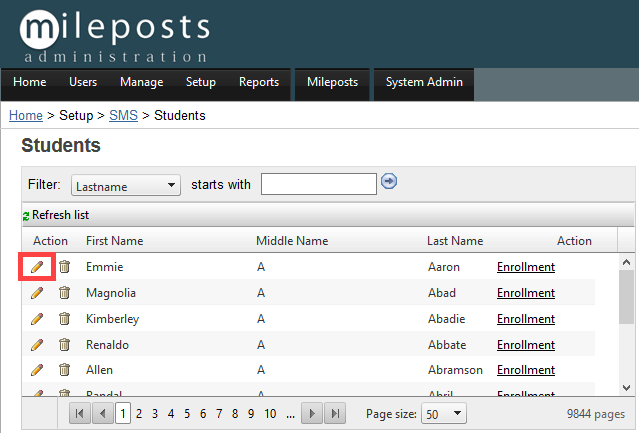
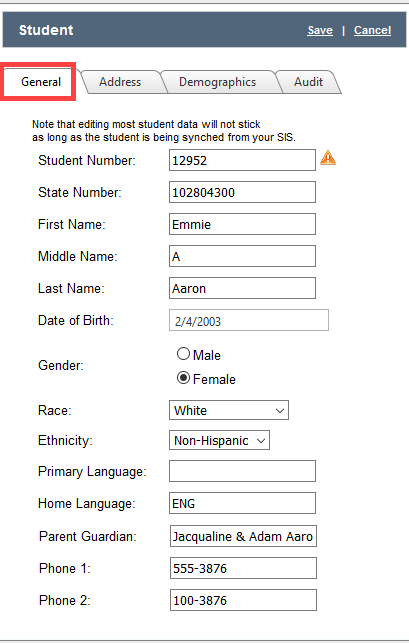
General Tab
Note that editing most student data will not stick
as long as the student is being synched from your SIS
Student Number
State Number
First Name
Middle Name
Last Name
Date of Birth
Gender
Race
Ethnicity
Primary Language
Home Language
Parent Guardian
Phone 1
Phone 2
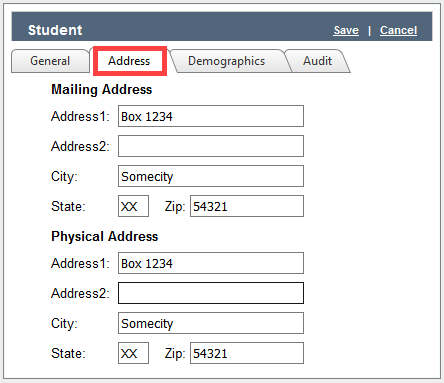
Address Tab
Mailing Address
Address 1
Address 2
City
State
Zip
Physical Address
Address 1
Address 2
City
State
Zip
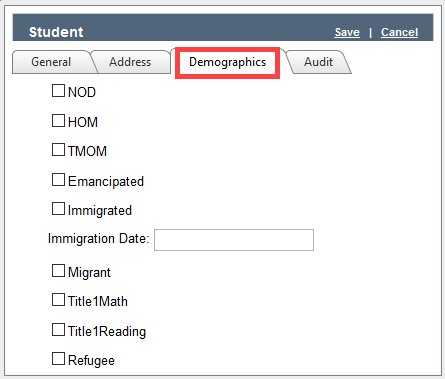
Demographics Tab
NOD
Yes
No
HOM
Yes
No
TMOM
Yes
No
Emancipated
Yes
No
Immigrated
Yes
No
Immigration Date
Insert Date
Migrant
Yes
No
Title 1 Math
Yes
No
Title 1 Reading
Yes
No
Refugee
Yes
No
Audit Tab: Audit Information is a basic timeline including the following:
Created on
Created by
Modified on
Modified by
Sync Information
Sync Source
Sync ID
Sync Time
Click Save
Delete
Table

First Name: Student First Name
Middle Name: Student Middle Name
Last Name: Students Last Name
Action
Enrollment
Add new Enrollment/Edit


General Tab
School: Choose school from dropdown
School Year: Choose school year from dropdown
Active
Yes
No
Grade: Choose grade from dropdown
Audit Tab: Audit Information is a basic timeline including the following:
Created on
Created by
Modified on
Modified by
Sync Information
Sync Source
Sync ID
Sync Time
Click Save
Refresh list: Refreshes table
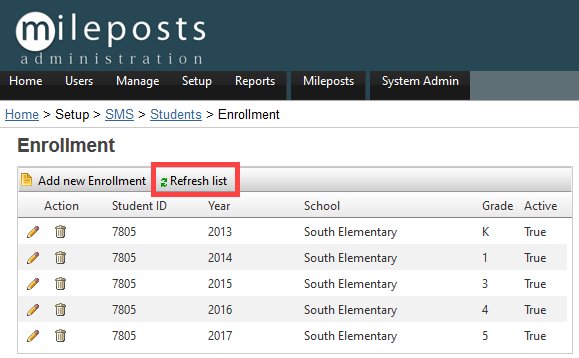
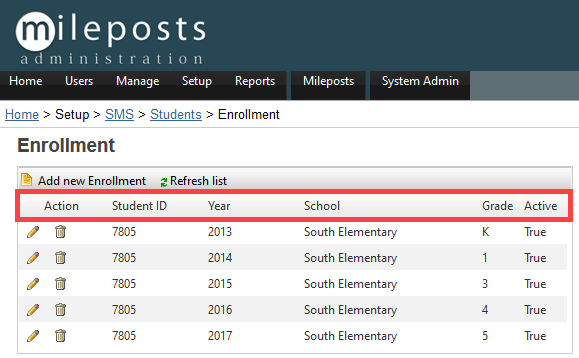
Table
Action
Delete

Table
Student ID
Year: School Year
School: School Name
Grade: Grade Level
Active
True/Yes
False/No
Student User-Defined Fields

Student User-Defined Fields

Add new Student User-Defined Fields/Edit


General Tab
Name: Field Name
Display Name: Name that the user sees
Public Key: Auto defined No added task to complete
Data Type: Select the data type from the Dropdown
Manage
Locally
Remotely

Audit Tab
Audit Information
Created On
Created By
Modified On
Modified By
Click Save

Refresh List: Refreshes table

Table

Action
Delete

Table
Name
Display Name
Public Key
Data Type
Managed in Mileposts
Options
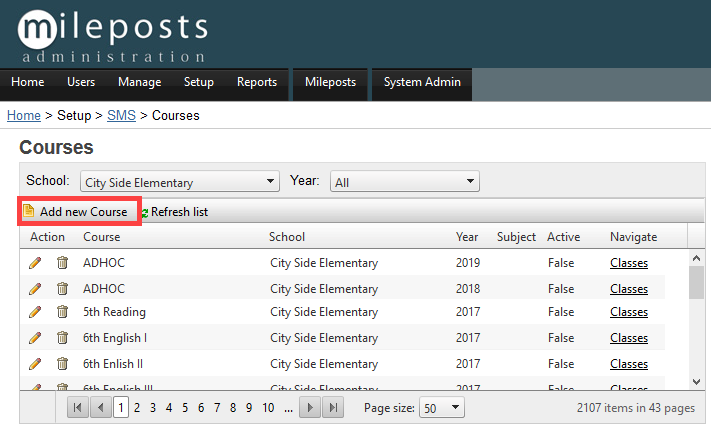
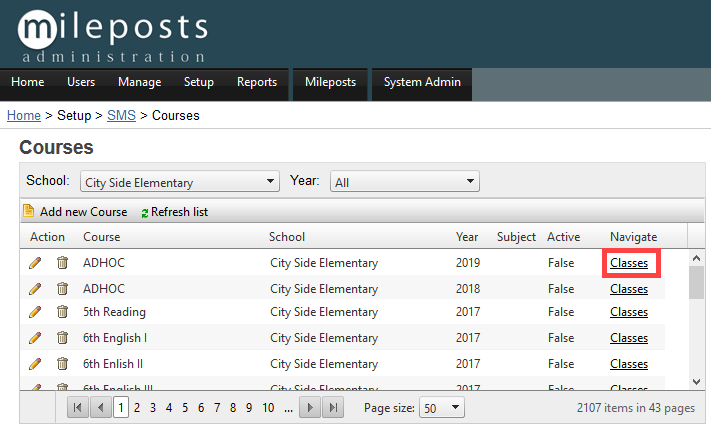
Courses

Courses
Filter
School: Select School from dropdown
Year: Select school year from dropdown

Add New Course/Edit

General Tab
Course: Name the Course
School: School will be auto filled
School Year: School Year will be auto filled
Active
Yes
No
Audit Tab
Audit Information
Created On
Created By
Modified On
Modified By
Click Save
Refresh List: Refreshes the table

Table
Audit Information
Created On
Created By
Modified On
Modified By
Click Save

Action
Delete

Table
Course
School
Year
Subject
Active
Navigate
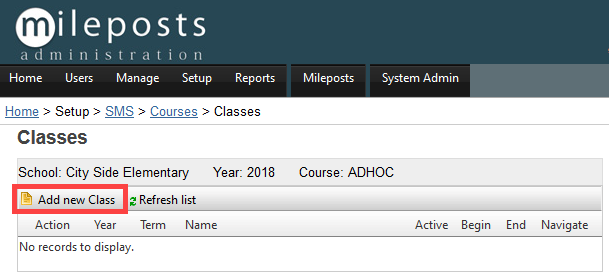
Classes
Classes
Add New Class/Edit
General Tab
Course: Name of the course
School
School Year
Term: Select term from dropdown
Class Type: Select Class Type from dropdown
Class Scope: Select Class Scope from dropdown
Name: Class Name
Active
Yes
No
Begin Period
End Period
Query

Audit Tab
Audit Information
Created On
Created By
Modified On
Modified By
Click Save
Refresh List: Refreshes table

Table

Action
Edit
General Tab
Course: Name of the course
School
School Year
Term: Select term from dropdown
Class Type: Select Class Type from dropdown
Class Scope: Select Class Scope from dropdown
Name: Class Name
Active
Yes
No
Begin Period
End Period
Query
Audit Tab
Audit Information
Created On
Created By
Modified On
Modified By
Click Save
Delete
Table

Year
Term
Name
Active
Begin
End
Navigate
Teacher
Add New Class Teacher/Edit


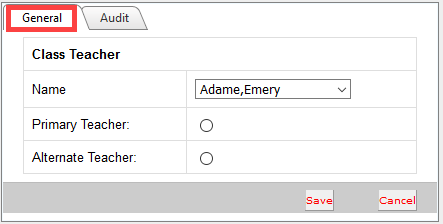
General Tab
Class Teacher
General Tab
Name: Select Teachers name from dropdown
Primary Teacher: Click if primary
Alternate Teacher: Click if alternate
Audit Tab: Audit Information is a basic timeline including the following:
Created on
Created by
Modified on
Modified by
Sync Information
Sync Source
Sync ID
Sync Time
Click Save

Refresh List: Refreshes table
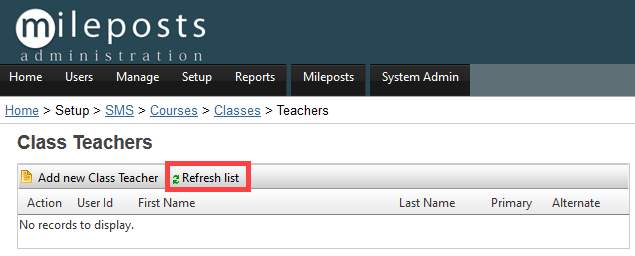
Table
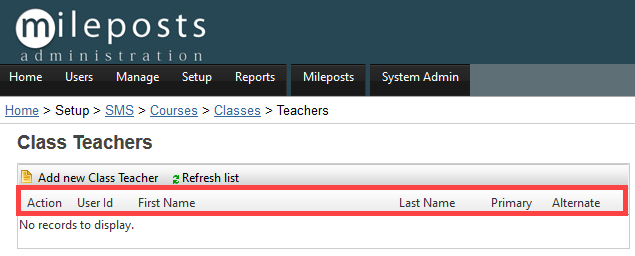
Action
Delete
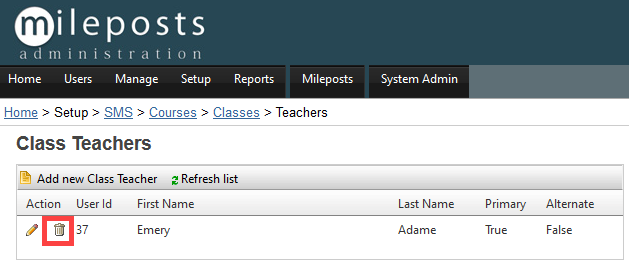
User ID
First Name
Last Name
Primary
Alternate
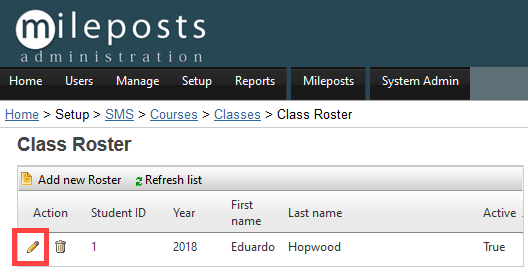
Roster
Add New Roster/Edit

General Tab
Name: Teachers Name
Active
Yes
No
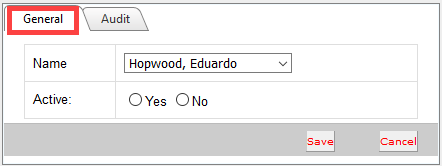
Audit Tab
Audit Tab: Audit Information is a basic timeline including the following:
Created on
Created by
Modified on
Modified by
Sync Information
Sync Source
Sync ID
Sync Time
Click Save
Refresh List: Refreshes the table

Table

Action
Delete
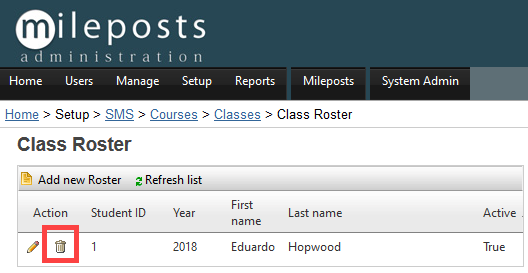
Table
Student ID
Year
First Name
Last Name
Active
Teacher Mapping


Filters
For School: Select School from dropdown
Unmapped or All Teachers
Unmapped: Teachers that are not mapped to Identity in the sync file
All: Teacher mapped and unmapped to Identity in the sync file
Staff in the School or All Staff
Show only staff in this school for editor: Staff in the selected school
Show all staff for editor: All staff from all schools

Table
Teacher: Teachers Name
Teacher Key: Unique staff number
Map to User: Teachers name/Email address/ Identity

Edit

Edit Email Address/Identity
Update
Save

Cancel

Audit

Created on
Created by
Modified on
Modified by
Cancel
Exit

Related Articles
Security (Complete Guide)
The security section is used for granting permissions and access to different tools or tasks in Mileposts Security Groups Groups A table of current Security Groups Add new Group General Tab Name Name of Security Group Public Key This will be auto ...District Setup (Complete Guide)
The following information is a complete guide for setting up district specific configuration for Mileposts. District Information Districts Refresh list Refreshes the table Table Action Edit District Information General Tab District Number Name: Name ...SMS Students Setup
From the Mileposts Administration page click on SMS Setup under Mileposts Setup Then click on Students Student: A table of all students in the Mileposts system Filter Last Name First Name School Starts with: Type at least 3 characters to filter ...Programs And Plans Setup (Complete Guide)
Programs Students participate in Programs that are standard or defined by the district (ie GATE, ELL,504 etc). Programs Page Add New Programs/Edit General Tab Name: Name of the Program Public Key: This will auto generate (No action needed) Active: ...Users (Complete Guide)
The User section of Admin Backstage is where all the following user management is done: User Accounts User Tags Organizational Groups Family Management User Accounts Click User Accounts First page of User Accounts is a table of users The headers on ...