SMS Courses Setup

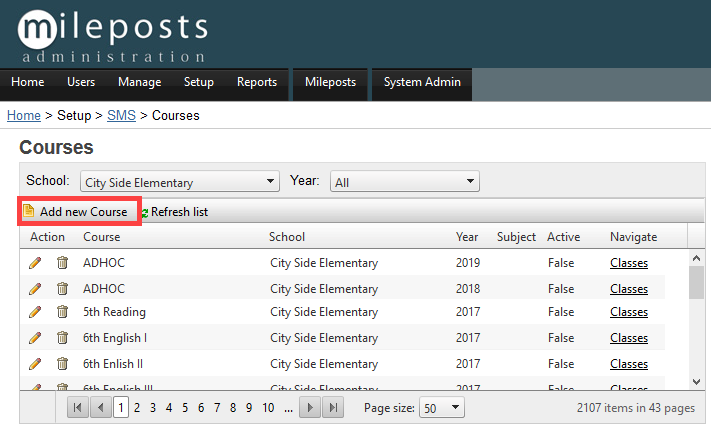
Courses
Filter
School: Select School from dropdown
Year: Select school year from dropdown

Add New Course/Edit

General Tab
Course: Name the Course
School: School will be auto filled
School Year: School Year will be auto filled
Active
Yes
No
Audit Tab
Audit Information
Created On
Created By
Modified On
Modified By
Click Save

Refresh List: Refreshes the table

Table
Audit Information
Created On
Created By
Modified On
Modified By
Click Save

Action
Delete

Table
Course
School
Year
Subject
Active
Navigate
Classes
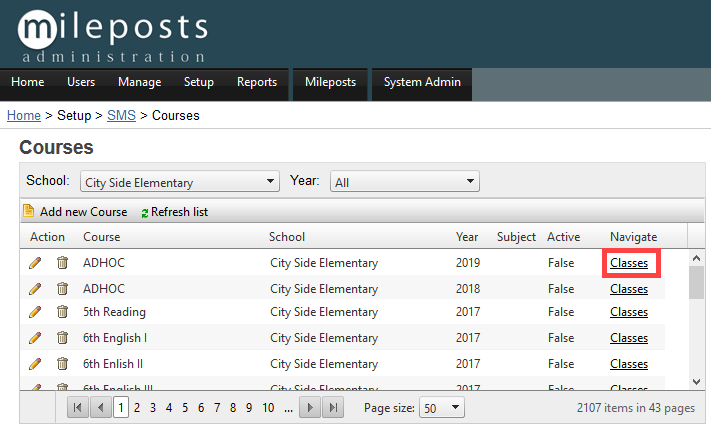
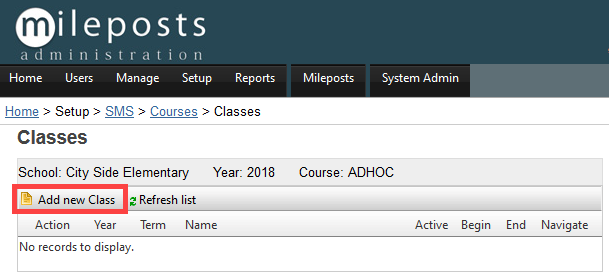
Classes
Add New Class/Edit
General Tab
Course: Name of the course
School
School Year
Term: Select term from dropdown
Class Type: Select Class Type from dropdown
Class Scope: Select Class Scope from dropdown
Name: Class Name
Active
Yes
No
Begin Period
End Period
Query

Audit Tab
Audit Information
Created On
Created By
Modified On
Modified By
Click Save
Refresh List: Refreshes table

Table

Action
Edit
General Tab
Course: Name of the course
School
School Year
Term: Select term from dropdown
Class Type: Select Class Type from dropdown
Class Scope: Select Class Scope from dropdown
Name: Class Name
Active
Yes
No
Begin Period
End Period
Query
Audit Tab
Audit Information
Created On
Created By
Modified On
Modified By
Click Save
Delete
Table

Year
Term
Name
Active
Begin
End
Navigate
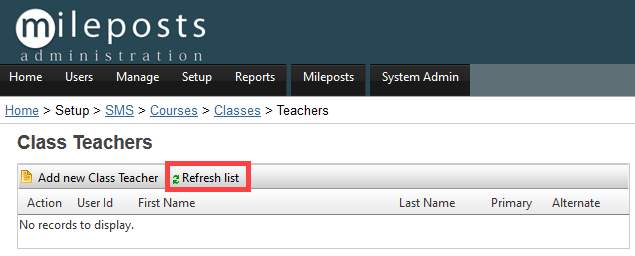
Teacher
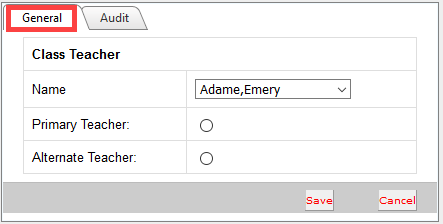
Add New Class Teacher/Edit


General Tab
Class Teacher
General Tab
Name: Select Teachers name from dropdown
Primary Teacher: Click if primary
Alternate Teacher: Click if alternate
Audit Tab: Audit Information is a basic timeline including the following:
Created on
Created by
Modified on
Modified by
Sync Information
Sync Source
Sync ID
Sync Time
Click Save

Refresh List: Refreshes table
Table
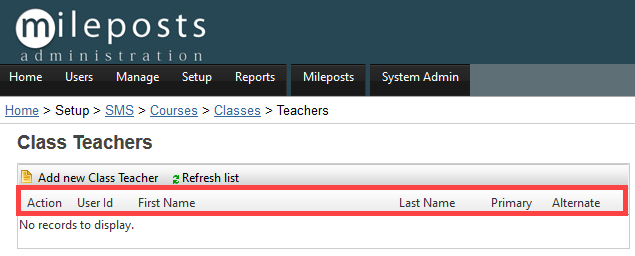
Action
Delete
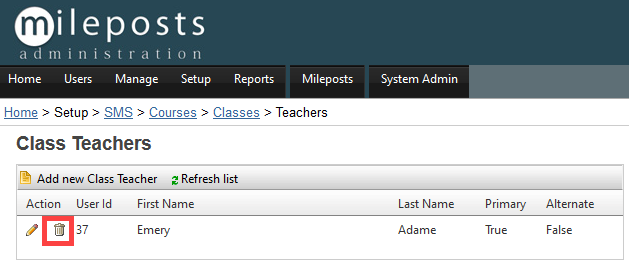
User ID
First Name
Last Name
Primary
Alternate
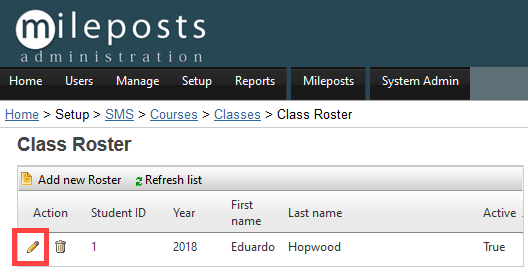
Roster
Add New Roster/Edit

General Tab
Name: Teachers Name
Active
Yes
No
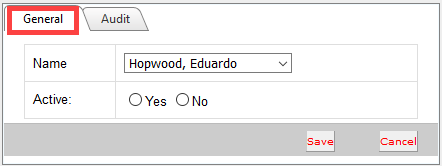
Audit Tab
Audit Tab: Audit Information is a basic timeline including the following:
Created on
Created by
Modified on
Modified by
Sync Information
Sync Source
Sync ID
Sync Time
Click Save
Refresh List: Refreshes the table

Table

Action
Delete
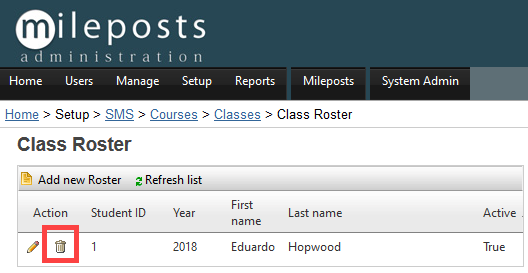
Table
Student ID
Year
First Name
Last Name
Active
Related Articles
SMS Setup (Complete Guide)
District Setup Districts Add new District/Edit General Tab Name: District Name Current School Year Public Key Sync Tab Sync Students: Checked =True True/Yes False/No Sync Enrollment: Checked =True True/Yes False/No Sync Classes: Checked =True ...SMS Students Setup
From the Mileposts Administration page click on SMS Setup under Mileposts Setup Then click on Students Student: A table of all students in the Mileposts system Filter Last Name First Name School Starts with: Type at least 3 characters to filter ...SMS School Setup
Schools Add new School/Edit General Tab Name: School Name Short Name: School Name Abbreviated/Nick Name Active Yes No School Number State Number Parent School District District Name Location Description: An area to enter a detailed description Audit: ...SMS District Setup
Districts Add new District/Edit General Tab Name: District Name Current School Year Public Key Sync Tab Sync Students: Checked =True True/Yes False/No Sync Enrollment: Checked =True True/Yes False/No Sync Classes: Checked =True True/Yes False/No ...PowerSchool SIS Synchronization Setup
The following instructions will set up an automatic and secure synchronization of student information, teacher information, courses, classes and class rosters from your PowerSchool system to the EdHub system. Once this setup is completed this ...