Plans Admin Setup
Plans are associated with one or more Programs (ie GATE, ELL,504 etc). They can be created in Mileposts and contain Interventions, Progress Monitors, Notes, Attachments, etc. Plans are audited annually but can be ongoing.

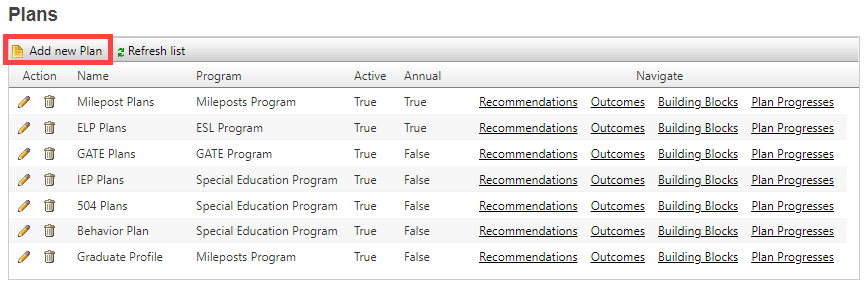
If the Plan Navigate option is highlighted in yellow that option of the Plan includes a specific building block. Hover over the highlighted option for additional information
Add new Plan
General Tab
Name: Name of the Plan
Program: The Program that the plan is associated with
Plan Type: What is the Plan designed to correct
Active
Yes or No
Public Key: This is auto generated (No Action Necessary)
Code: Plan Code
Is Annual Plan: Does this plan renew Annually or is it ended annually (Yes or No)
Note: You will not be able to change the annual state of this plan after saving this definition.

Description Tab
A text box used to add a detailed description of the Plan

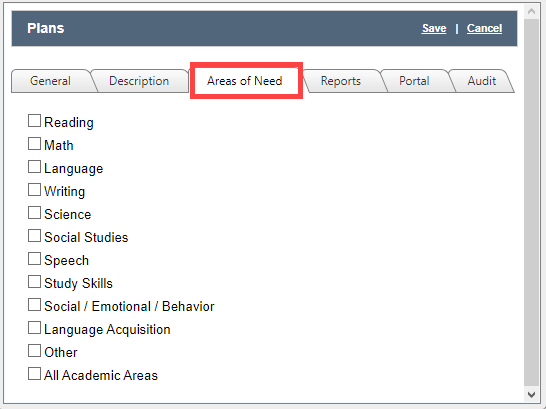
Areas of Need Tab
Choose from the district approved areas that the plan will address
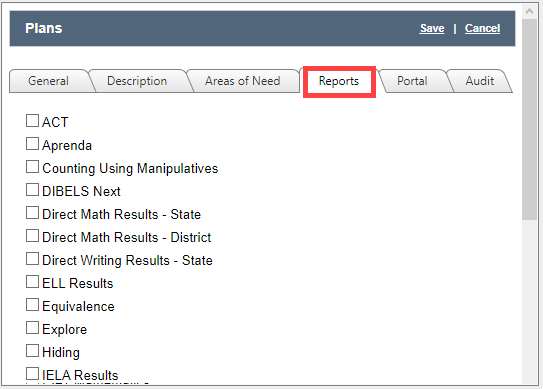
Reports Tab
Choose the reports that correspond with the Plan
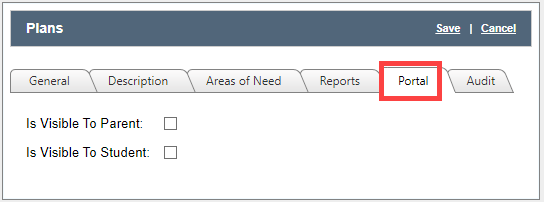
Portal Tab
Is Visible to Parent: Yes or No (Box checked is Yes)
Is Visible to Student: Yes or No (Box checked is Yes)
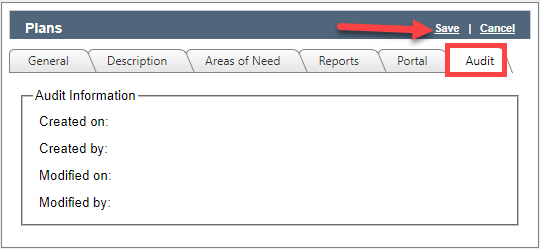
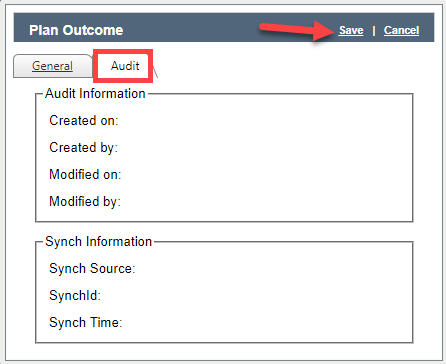
Audit Tab
Created on
Created by
Modified on
Modified by
Click Save
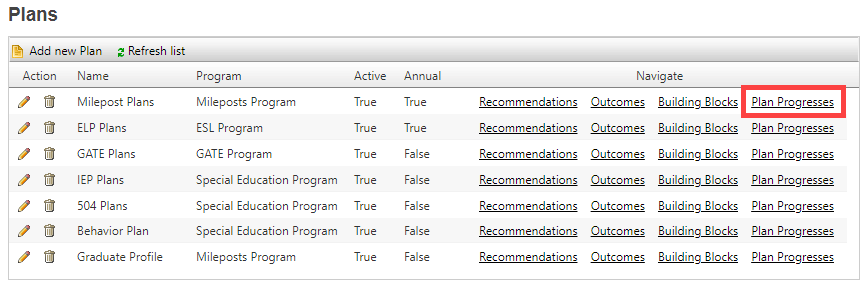
Table
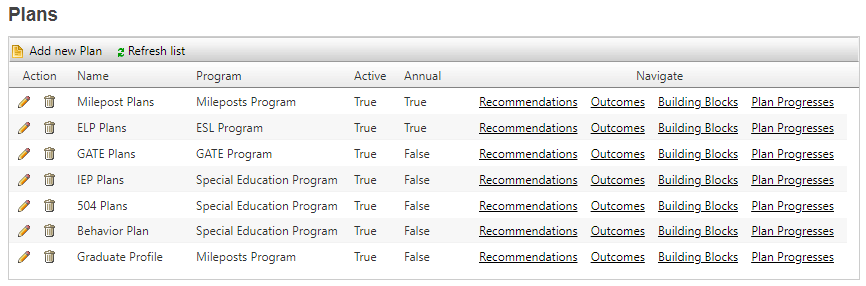
Action
Edit
Delete
Name: Name of the Plan
Program: Programs associated with Plan
Active: True or False (Yes or No)
Annual: True or False (Yes or No)
Navigate
Recommendations

Add new Recommendation
General Tab
Plan: Set in the Plan edit screen (Not Editable)
Name: Name of the recommendation
Active
Yes or No (Checked = Yes Unchecked = No)

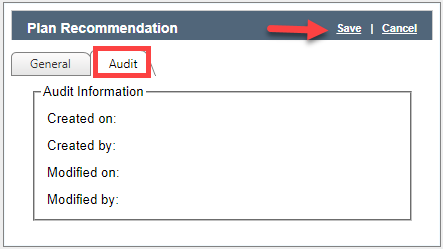
Audit Tab
Created on
Created by
Modified on
Modified by
Click Save
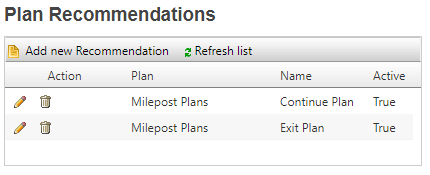
Table
Action
Edit
Delete
Plan: Name/Type of Plan
Name: Name of recommendation
Active
True or False (Yes = True, No = False)
Outcomes

Add new Outcome

General Tab
Plan: Set in the Plan edit screen (Not Editable)
Active: Yes or No (Checked = Yes Unchecked = No)
Name: Name of the Outcome
Code: Set a 1-5 character Code to represent the Outcome

Audit Tab
Created on
Created by
Modified on
Modified by
Sync Source
SyncId
Sync Time
Click Save
Table
Action
Plan
Name
Active
Code

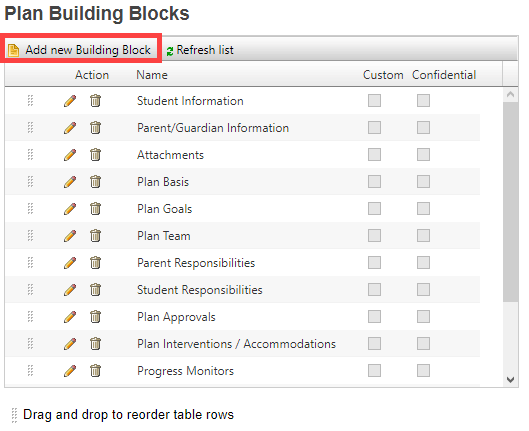
Building Blocks

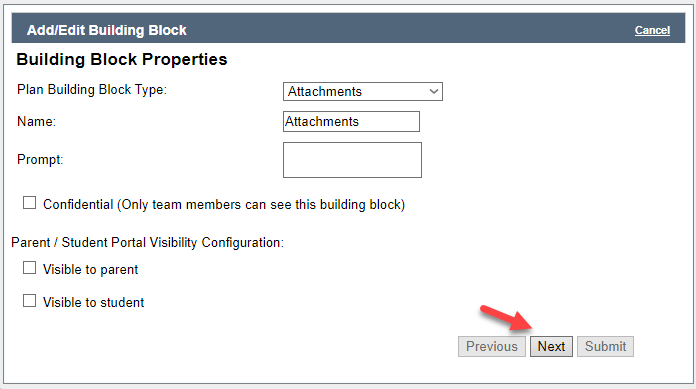
Add new Building Block
Select Plan Building Block Type
Enter a name for the building Block
Enter a Prompt
If Confidential Check the box otherwise leave Blank
Select who has visibility to the Building Block (Parent and or Student)
Click Next
Review the Summary and if correct
Click Submit

Table
Action
Reorder
Edit
Delete
Name: Name of the Building Block
Custom: Is it Custom or Default (checked = Yes, unchecked = No)
Confidential: Is it Confidential (checked = Yes, unchecked = No)

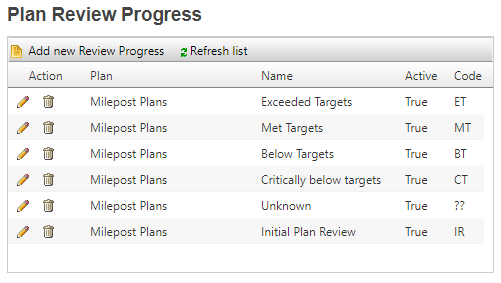
Plan Progresses
Add new Review Progress
General Tab
Plan: Set in the Plan edit screen (Not Editable)
Active: Yes or No (Checked = Yes Unchecked = No)
Name: Name of the Outcome
Code: Set a 1-5 character Code to represent the Outcome

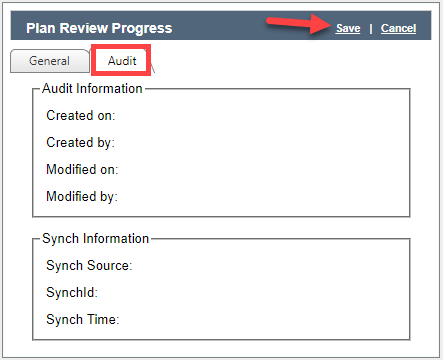
Audit Tab
Created on
Created by
Modified on
Modified by
Sync Source
SyncId
Sync Time
Click Save
Table
Action
Edit
Delete
Plan: Name/Type of Plan
Name: Name of Review
Active: Yes or No (Yes Checked, No Unchecked)
Code: 1-5 character code to represent the Review
Related Articles
How to Create a Simple Custom Building Block for Plans
Now you can quickly and easily add a SIMPLE building block to a plan. 1a. Navigate to the Admin section of Mileposts. 1b. Click on Programs and Plans Setup. 2. Choose Plans. 3. Click on Building Blocks. 4. Click Add new Building Block to open the ...Programs And Plans Setup (Complete Guide)
Programs Students participate in Programs that are standard or defined by the district (ie GATE, ELL,504 etc). Programs Page Add New Programs/Edit General Tab Name: Name of the Program Public Key: This will auto generate (No action needed) Active: ...Interventions Admin Setup
Interventions are contained within Plans and are meant to support the plan. They are intentional instruction strategies that are aimed at specific skills that are needed ranging in multiple tiers (Tier1 to Tier 3). Programs Students participate in ...Creating a Custom Plan in Mileposts
Sometimes you may want to make your own educational support plans with specific elements in them. As a Mileposts administrator you can do that. 1. Navigate to the Admin section of Mileposts. Click on Programs and Plans Setup. 2. Choose Plans ...Creating a Mileposts Plan ('At Risk' Plan)
Mileposts Plans were designed for students not making progress, even though one or more interventions have been in place. Best Practices for the Mileposts Plans Typically used for students deemed most ‘at risk’, or not making adequate progress even ...