Managing Portfolio Documents
Follow the step by step document below.
Login to Teacher Vitae
Click “My Portfolio”

“My Portfolio” has two sections “My Folders” and “General”/Artifacts

The “My Foldeers” Pane
Folders can be added by clicking “+Add Folder” and giving the Folder a name.


The name of the Folder can be changed by clicking the Pencil
The Folders can be reordered by clicking on the Arrows and dragging the Folder into the desired position.

Folders can be Deleted by clicking the Trash Can
Note: The folders “General” “My Observations and Evaluations” and “Trash” can’t be Deleted or Edited

General/Artifacts Pane
Artifacts can be added by clicking “+Add Artifact”
You can Preview an Artifact Template by clicking Preview on the right
To choose an Artifact Template click the Name of the Template on the left.

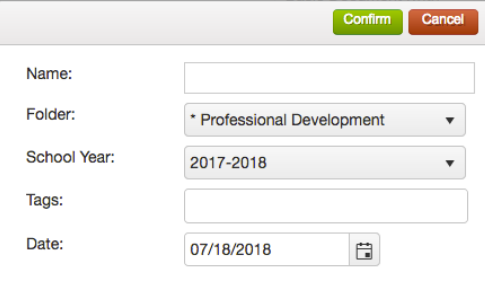
Name the Artifact
The Folder will default to the Folder that you are in. However, you can choose to put the Artifact in a different folder by changing the Folder from the dropdown menu.
Choose the school year
Tag the Artifact
The date will default to the current date but you can change the date by clicking the Calendar icon.
Click “Confirm”
The General/Artifacts Pane has five columns
School Year:
Name:
Form:
Status:
Action:
and can be filtered by clicking the filter icon next to the column header.

In the Action column you can:
Edit: the Artifact
View: the Artifact
Print: the Artifact
Create PDF
Move: the Artifact to a different Folder
Share: the Artifact with a colleague or supervisor
Delete: the Artifact

Editing an Artifact
Click the Edit button in the Action Pane
In the artifact you can use the Rich Text box to enter evidence.
Note: You can also create a link to Share Google Documents (See Sharing Google Docs on Teacher Vitae for more information)
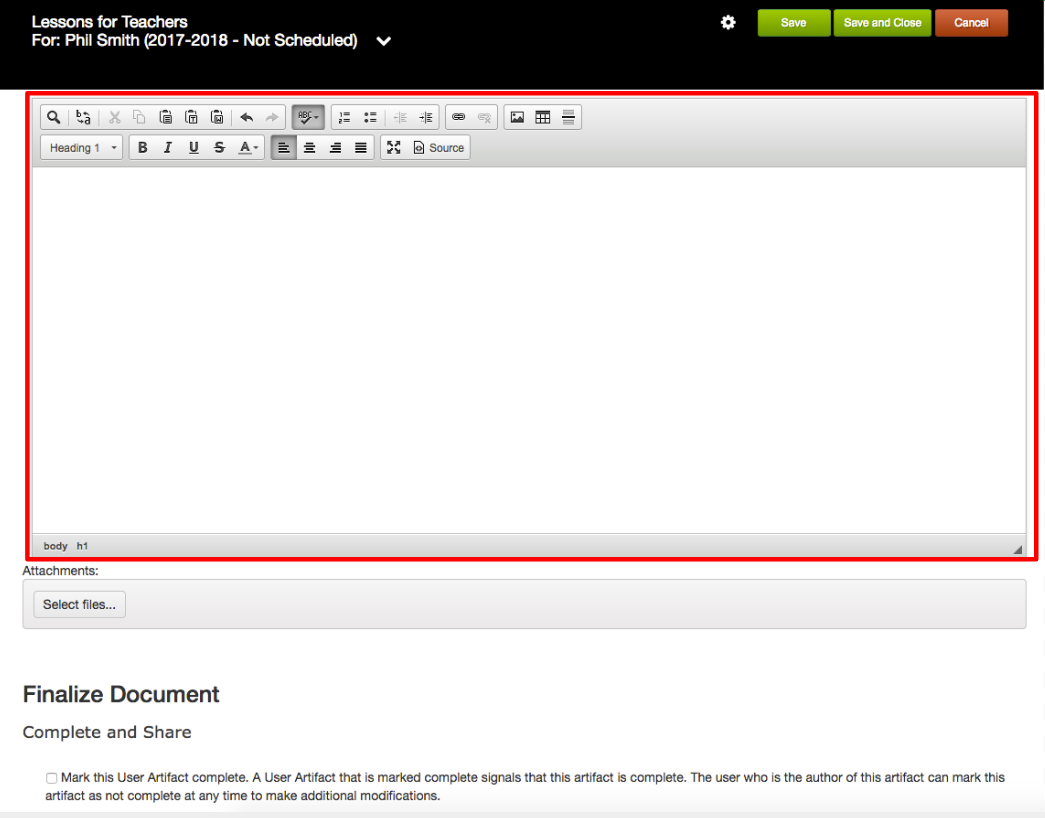
In the Attachments section click “Select files” to add Attachment to your Artifact.

This will open up the hard drive in your computer. Find the document that you wish to attach.
Click “Open”
You can edit the properties of the document by clicking the Gear icon/Settings and clicking “Save”
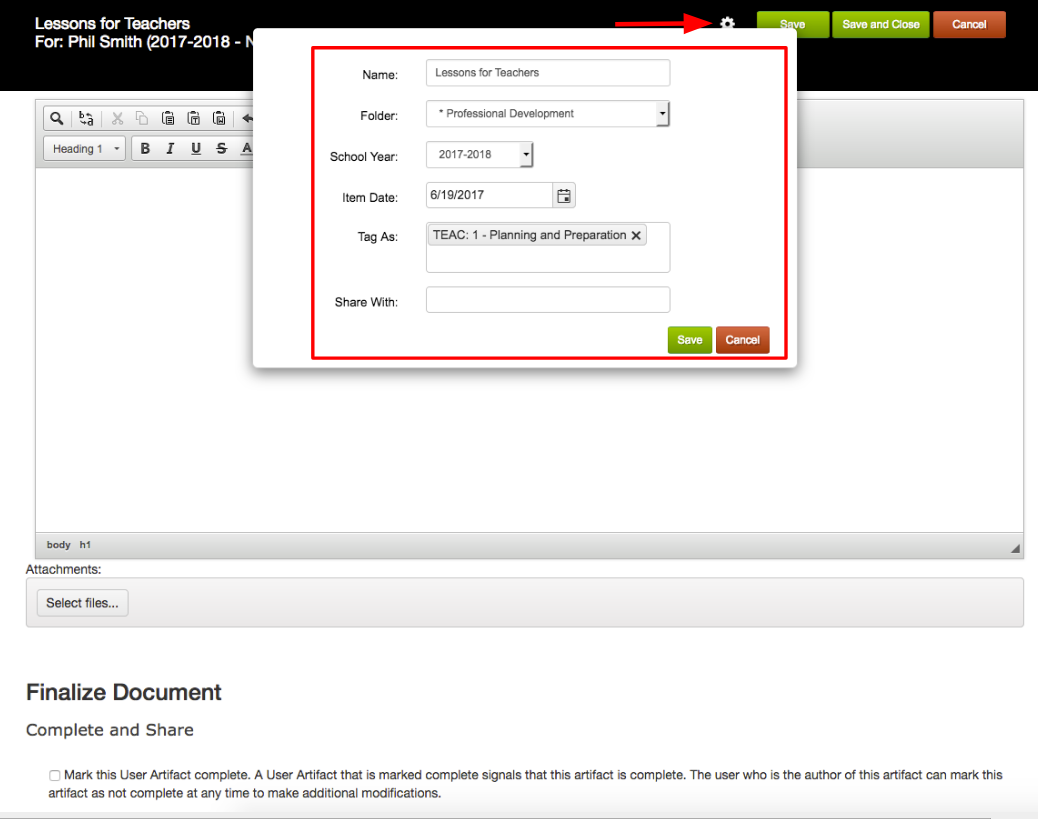
When finished click the Checkbox “Complete and Share”

The Evaluation History Folder
From any Form you can click on the dropdown arrow in the header next to the Form’s name and see all the Artifacts that are logged for the staff member that is named in the header

Related Articles
Advanced Portfolio Item Editing
Creating an Artifact is done in a Rich Text Editor, similar to Microsoft Word, Google Docs or your favorite editor. And, like those editors Teacher Vitae supplies the tools needed to help make your documents professional. In this Support Solution we ...4_Teacher Vitae Training - Professional Portfolio
This 7 minute training video discusses in detail My Portfolio in Teacher Vitae. the video covers accessing My Portfolio and its layout. The difference between Folder View and Tag View. How to add, edit, delete Artifacts and their settings. ...Searching for Artifacts
Searching for user artifacts that have been tagged and shared with an evaluator is an easy process. Login to Teacher Vitae Click on “My Schedule” Select the Form you are wanting to for Search for Artifacts by clicking “Edit” Choose the domain that ...Building a Professional Portfolio in Teacher Vitae
This webinar will guide you through the process of creating and building your professional portfolio in Teacher Vitae. Tagging and Sharing User Artifacts
Tagging user artifacts to domains and components in the district evaluation framework, then sharing the tagged document with colleagues and/or supervisors, is an easy process. When you tag and share your artifacts, your administrator has a much ...