Interventions Admin Setup
Interventions are contained within Plans and are meant to support the plan. They are intentional instruction strategies that are aimed at specific skills that are needed ranging in multiple tiers (Tier1 to Tier 3).
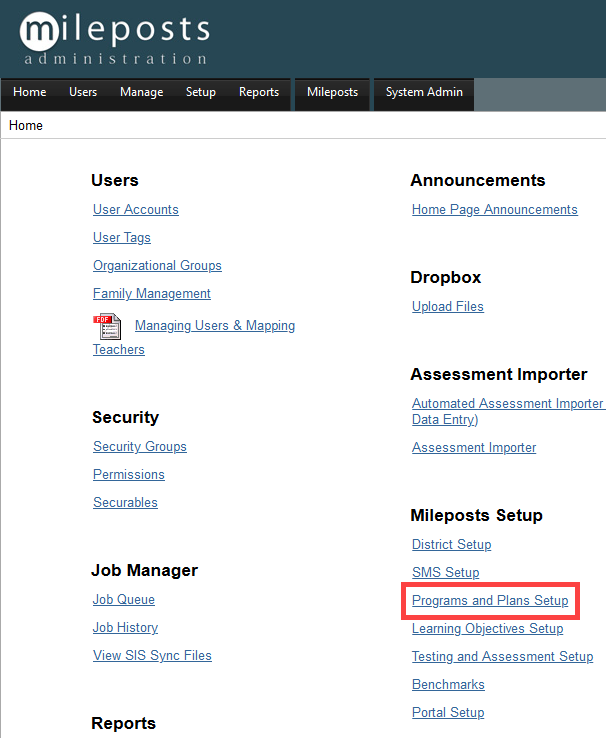
Programs
Students participate in Programs that are standard or defined by the district (ie GATE, ELL,504 etc).
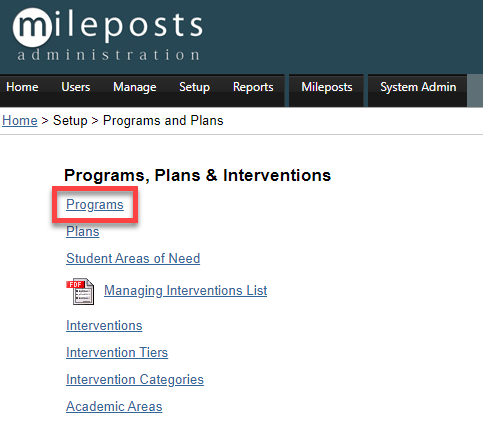
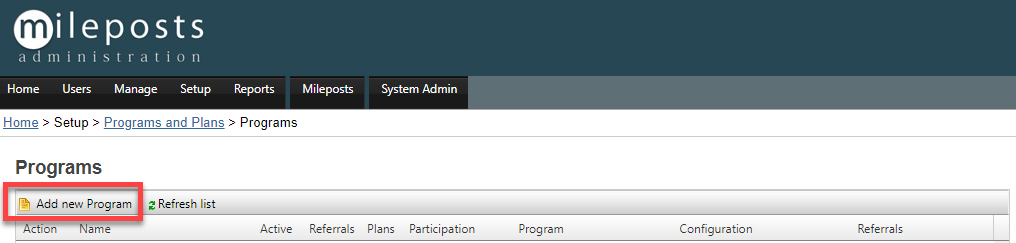
Programs Page
Add New Programs/Edit
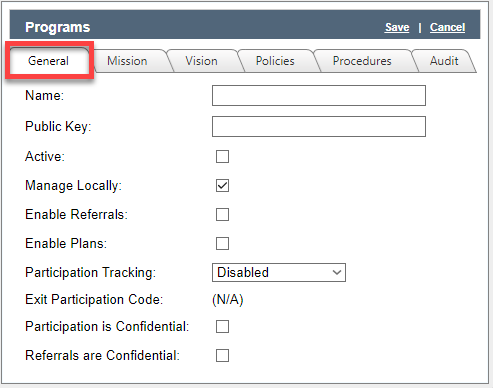
General Tab
Name: Name of the Program
Public Key: This will auto generate (No action needed)
Active: Is the Program turned on and accessible (Yes or No)
Manage Locally
Enable Referrals: Can a student be referred to this Program (Yes or No)
Enable Plans: Can Plans be added to this Program
Participation Tracking: What type of tracking is being used
Disabled: No tracking
Detailed: Detailed view of Program information
Summary: Summarization of Program information
Exit Participation Code
Participation is Confidential: Is this Programs participation confidential (Yes or No)
Referrals are Confidential: Is this Programs referrals confidential (Yes or No)
Mission: A text box for detailed description of the mission or purpose of the program

Vision: A text box for detailed description of the vision or goal of the program

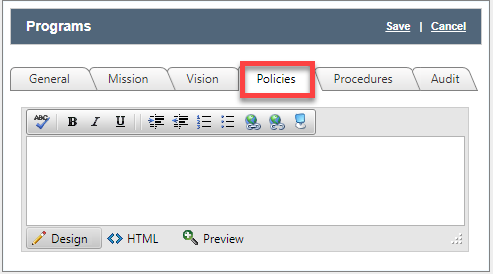
Policies: A text box for detailed description of the policies or guidelines of the program
Procedures: A text box for detailed description of the procedures of the program

Audit Tab: Audit Information is a basic timeline including the following:
Created on
Created by
Modified on
Modified by
Click Save

Refresh List: Refreshes the table

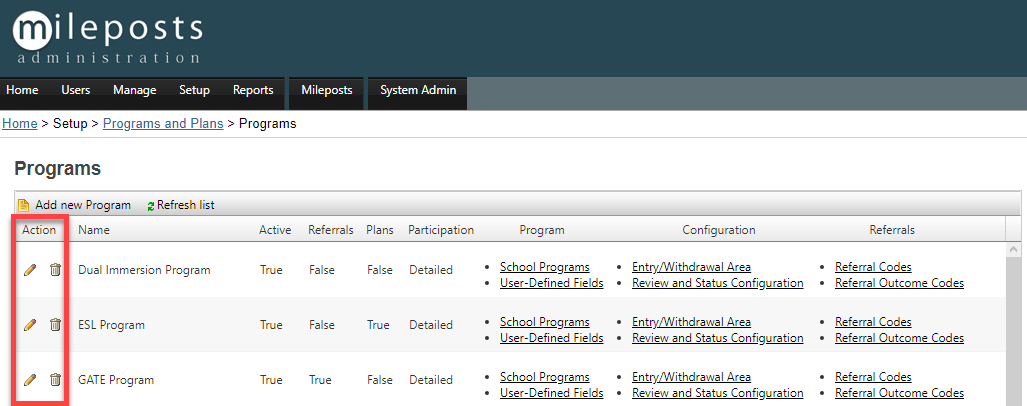
Programs Table

Action
Delete (garbage can)
Table
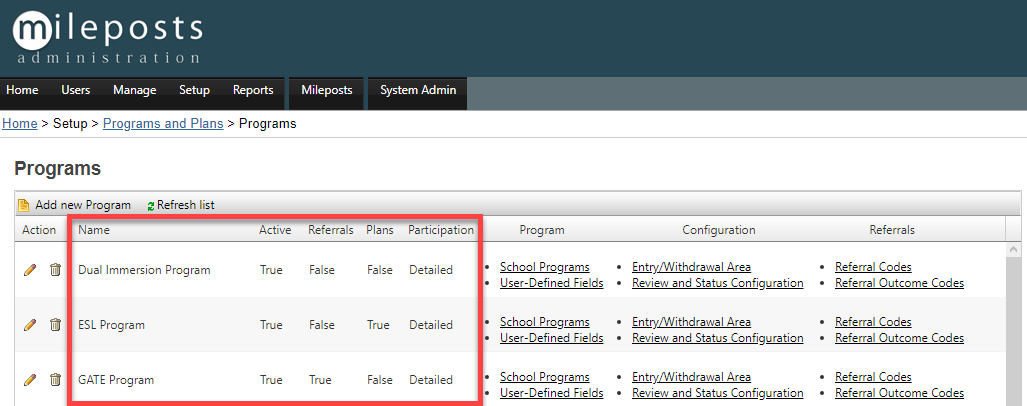
Name: Name of the Program
Active : Is the Program Active
(Yes or No)
Referrals: Are Referrals enabled or disabled
Plans: Are Plans enabled or disabled
Participation: What type of participation tracking is being used
Program
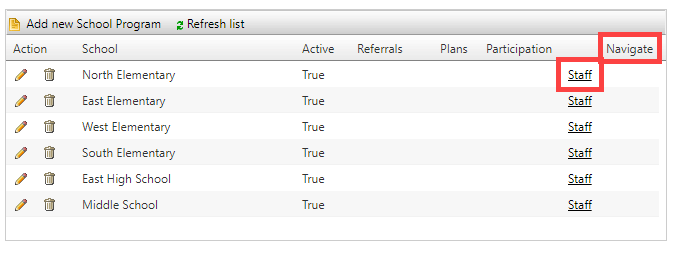
School Programs
Schools that have access to the Program

Table

Action
Edit: See Add new School Program
Delete

School: Name of the school
Active: Does the school have access to the Program
True
False
Referrals
Plans
Participation
Navigate
Staff
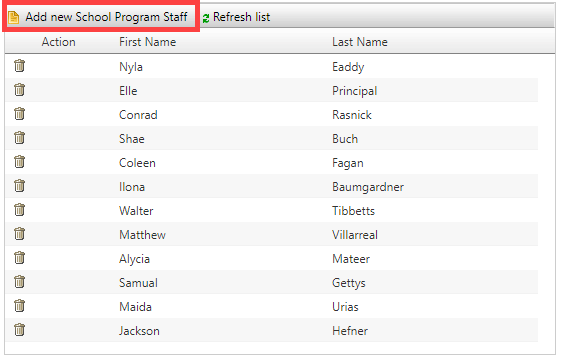
Add new School Program Staff
General Tab
Program Name
School Name
Check the box next to all staff members that need access to the Program
Click Save

Table
Action
Delete: Delete users that no longer need access to the Program
First Name
Last Name

User-Defined Fields
Add fields to the Program that are defined in Mileposts and added manually

Add new User-Defined Field
General Tab
Program: Defined on the Programs page (Not Editable)
Name: Name of the field
Display Name: How the field is displayed
Public Key: This will be auto-generated (No Action Needed)
Data Type: Choose from the following. This is how the data will be entered
Text
Checkbox
List
Manage
Locally: Within Mileposts
Remotely: From Student Information System
Show on Listing Page: Yes or No (Checked = Yes)

Audit Tab: Audit Information is a basic timeline including the following:
Created on
Created by
Modified on
Modified by
Click Save

Table
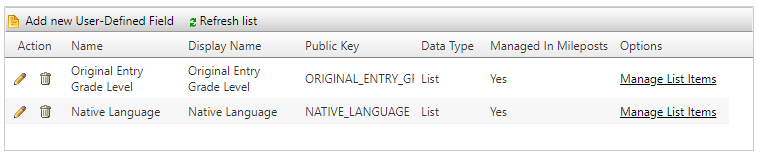
Action
Edit
Delete
Name: Name of the field
Display Name: How the field is displayed
Public Key: This will be auto-generated (No Action Needed)
Data Type
Managed in Mileposts: Yes or No
Options
Manage List Items
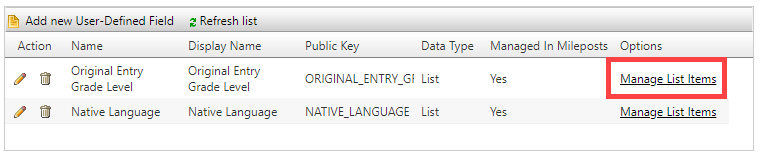
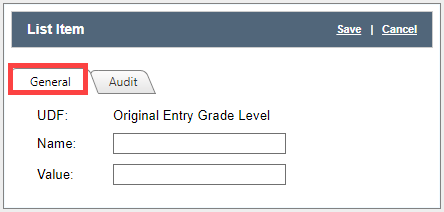
Add new Item/Edit


General Tab
UDF:User Defined field
Name: Item Name
Value: What will be displayed
Audit Tab: Audit Information is a basic timeline including the following:
Created on
Created by
Modified on
Modified by
Click Save
Table

Action
Reorder: Order shown on this table is how it will be displayed
Edit
Delete
Name : Item Name
Value: Display Name
Configuration
Entry/Withdrawal Area

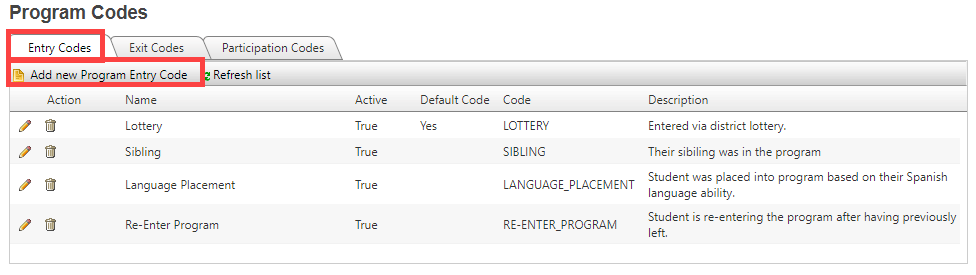
Entry Codes
Add new Program Entry Codes/Edit
General Tab
Program: Defined on the Programs page (Not Editable)
Name: Name of the Code
Active: Is the code Active
Yes or No
Default Code
Code
Description: Detailed description of the code

Audit Tab: Audit Information is a basic timeline including the following:
Created on
Created by
Modified on
Modified by
Click Save
Table
Action
Edit
Delete
Name: Name of the Code
Active: Is the code Active
Yes or No
Default Code
Code
Description: Detailed description of the code

Exit Codes
Add new Program Exit Code/Edit

General Tab
Program: Defined on the Programs page (Not Editable)
Name: Name of the Code
Active: Is the code Active
Yes or No
Is Default Code
Code
Description: Detailed description of the code

Audit Tab: Audit Information is a basic timeline including the following:
Created on
Created by
Modified on
Modified by
Click Save
Table
Action
Edit
Delete
Name: Name of the Code
Active: Is the code Active
Yes or No
Default Code
Code
Description: Detailed description of the code

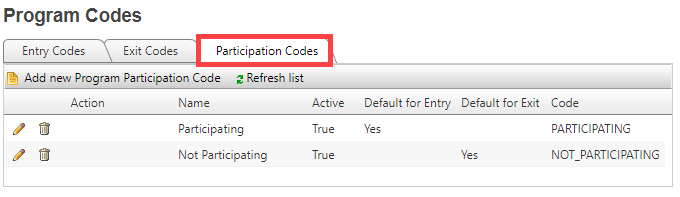
Participation Codes
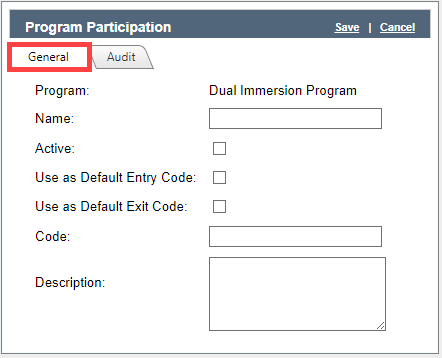
Add new Program Participation Code/Edit

General Tab
Program: Defined on the Programs page (Not Editable)
Name: Name of the Code
Active: Is the code Active
Yes or No
Use as Default Entry Code
Yes or No
Use as Default Exit Code
Yes or No
Code
Description: Detailed description of the code
Audit Tab: Audit Information is a basic timeline including the following:
Created on
Created by
Modified on
Modified by
Click Save
Table
Action
Edit
Delete
Name: Name of the Code
Active: Is the code Active
Yes or No
Default for Entry
Default for Exit
Code
Review and status Configuration

Reviews
Add new Program Review Type/Edit
General Tab
Program: Defined on the Programs page (Not Editable)
Name: Name of the Code
Active: Is the code Active
Yes or No
Description: Detailed description of the code

Audit Tab: Audit Information is a basic timeline including the following:
Created on
Created by
Modified on
Modified by
Click Save
Table
Action
Name
Description
Active
Checklist
Outcomes

Status
Add new Program Tracker/Edit
General Tab
Program: Defined on the Programs page (Not Editable)
Name: Name of the Code
Active: Is the code Active
Yes or No
Description: Detailed description of the code

Audit Tab: Audit Information is a basic timeline including the following:
Created on
Created by
Modified on
Modified by
Click Save
Table
Action
Name
Description
Active
Status Value
Transition Justifications

Referrals

Referral Codes

Add new Program Referral Code/Edit
General Tab
Program: Defined on the Programs page (Not Editable)
Name: Name of the Code
Active: Is the code Active
Yes or No
Code
Description: Detailed description of the code

Audit Tab: Audit Information is a basic timeline including the following:
Created on
Created by
Modified on
Modified by
Click Save
Table
Action
Active
Code
Description

Referral Outcome Codes

Add new Program Referral Outcome Code/Edit
General Tab
Program: Defined on the Programs page (Not Editable)
Name: Name of the Code
Active: Is the code Active
Yes or No
Outcome Code
Description: Detailed description of the code

Audit Tab: Audit Information is a basic timeline including the following:
Created on
Created by
Modified on
Modified by
Click Save
Table
Action
Active
Code
Description

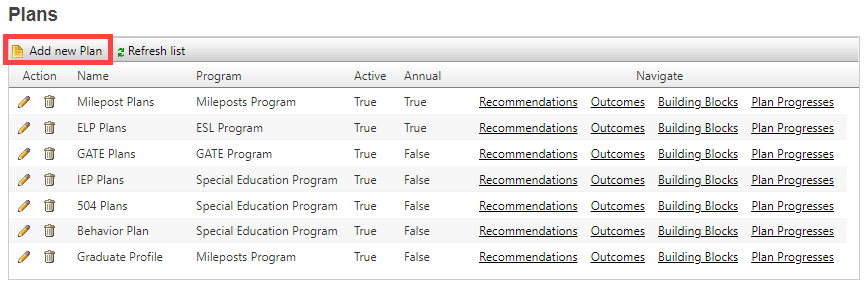
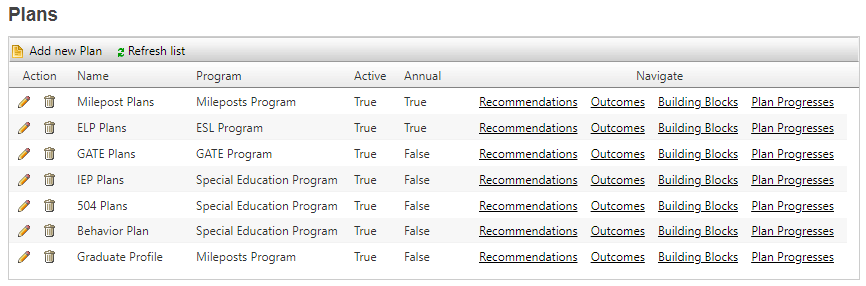
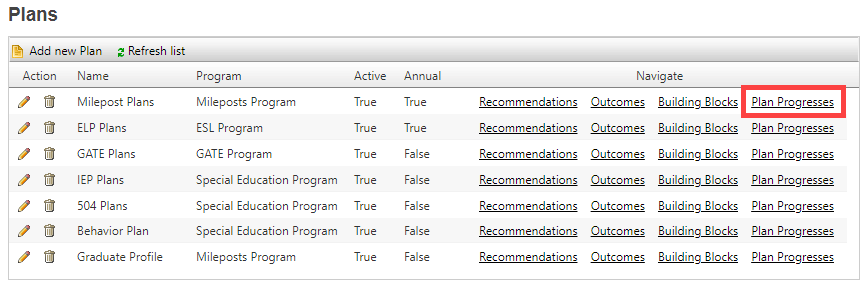
Plans
Plans are associated with one or more Programs (ie GATE, ELL,504 etc). They can be created in Mileposts and contain Interventions, Progress Monitors, Notes, Attachments, etc. Plans are audited annually but can be ongoing.

If the Plan Navigate option is highlighted in yellow that option of the Plan includes a specific building block. Hover over the highlighted option for additional information
Add new Plan
General Tab
Name: Name of the Plan
Program: The Program that the plan is associated with
Plan Type: What is the Plan designed to correct
Active
Yes or No
Public Key: This is auto generated (No Action Necessary)
Code: Plan Code
Is Annual Plan: Does this plan renew Annually or is it ended annually (Yes or No)
Note: You will not be able to change the annual state of this plan after saving this definition.

Description Tab
A text box used to add a detailed description of the Plan

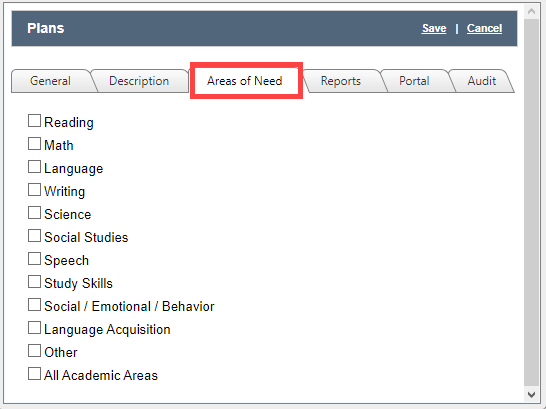
Areas of Need Tab
Choose from the district approved areas that the plan will address
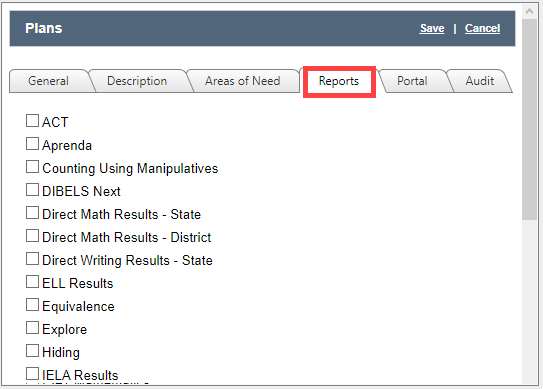
Reports Tab
Choose the reports that correspond with the Plan
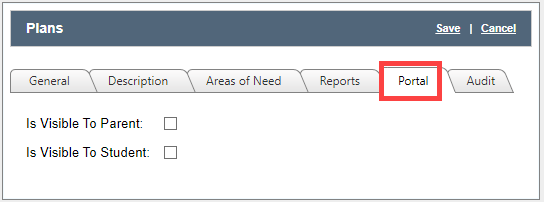
Portal Tab
Is Visible to Parent: Yes or No (Box checked is Yes)
Is Visible to Student: Yes or No (Box checked is Yes)
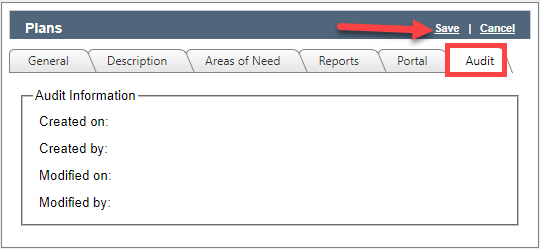
Audit Tab
Created on
Created by
Modified on
Modified by
Click Save
Table
Action
Edit
Delete
Name: Name of the Plan
Program: Programs associated with Plan
Active: True or False (Yes or No)
Annual: True or False (Yes or No)
Navigate
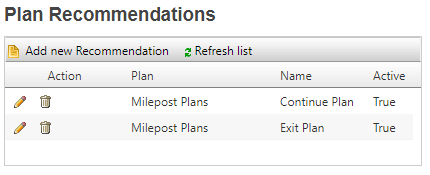
Recommendations

Add new Recommendation
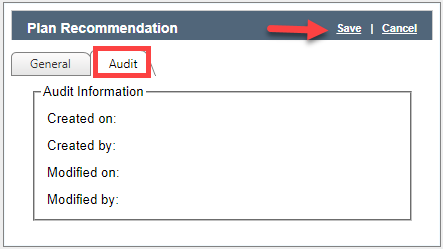
General Tab
Plan: Set in the Plan edit screen (Not Editable)
Name: Name of the recommendation
Active
Yes or No (Checked = Yes Unchecked = No)

Audit Tab
Created on
Created by
Modified on
Modified by
Click Save
Table
Action
Edit
Delete
Plan: Name/Type of Plan
Name: Name of recommendation
Active
True or False (Yes = True, No = False)
Outcomes

Add new Outcome

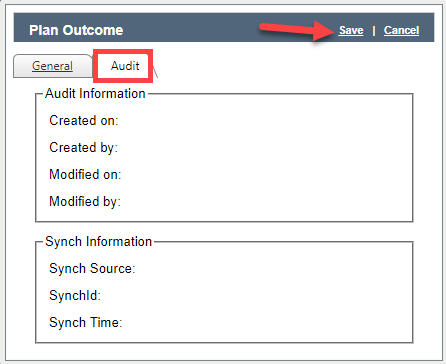
General Tab
Plan: Set in the Plan edit screen (Not Editable)
Active: Yes or No (Checked = Yes Unchecked = No)
Name: Name of the Outcome
Code: Set a 1-5 character Code to represent the Outcome

Audit Tab
Created on
Created by
Modified on
Modified by
Sync Source
SyncId
Sync Time
Click Save
Table
Action
Plan
Name
Active
Code

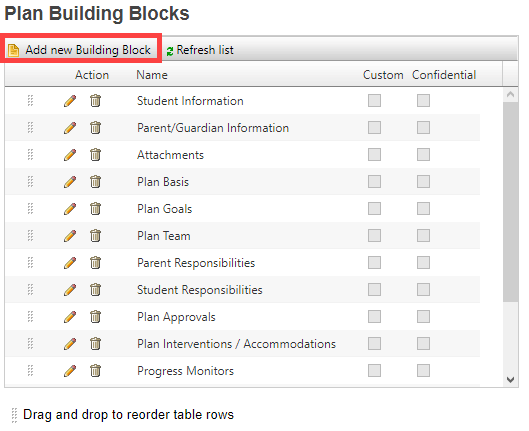
Building Blocks

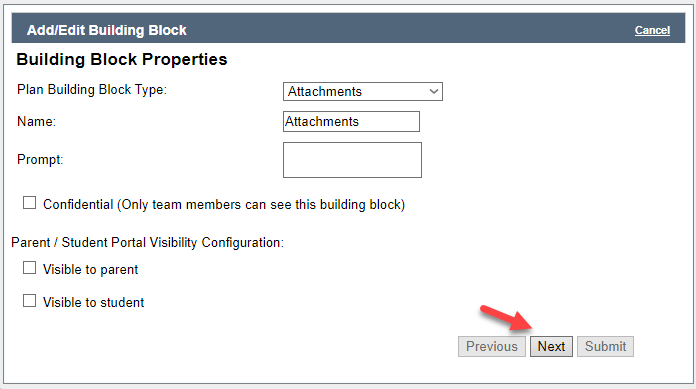
Add new Building Block
Select Plan Building Block Type
Enter a name for the building Block
Enter a Prompt
If Confidential Check the box otherwise leave Blank
Select who has visibility to the Building Block (Parent and or Student)
Click Next
Review the Summary and if correct
Click Submit

Table
Action
Reorder
Edit
Delete
Name: Name of the Building Block
Custom: Is it Custom or Default (checked = Yes, unchecked = No)
Confidential: Is it Confidential (checked = Yes, unchecked = No)

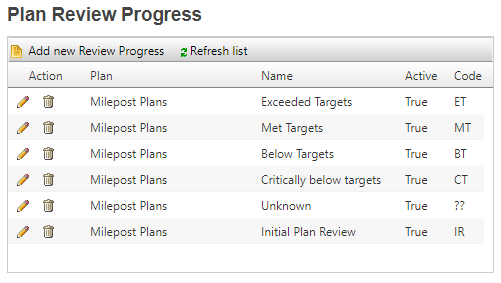
Plan Progresses
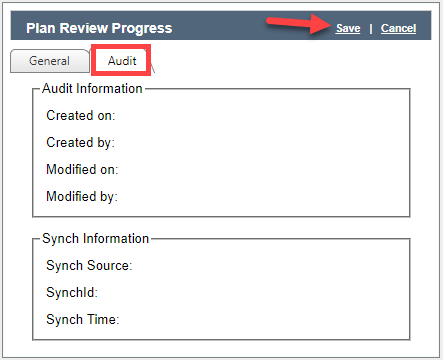
Add new Review Progress
General Tab
Plan: Set in the Plan edit screen (Not Editable)
Active: Yes or No (Checked = Yes Unchecked = No)
Name: Name of the Outcome
Code: Set a 1-5 character Code to represent the Outcome

Audit Tab
Created on
Created by
Modified on
Modified by
Sync Source
SyncId
Sync Time
Click Save
Table
Action
Edit
Delete
Plan: Name/Type of Plan
Name: Name of Review
Active: Yes or No (Yes Checked, No Unchecked)
Code: 1-5 character code to represent the Review
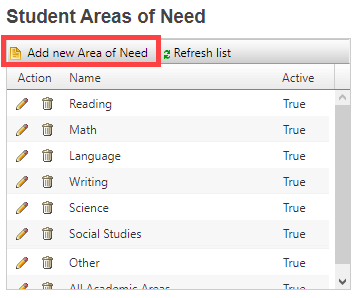
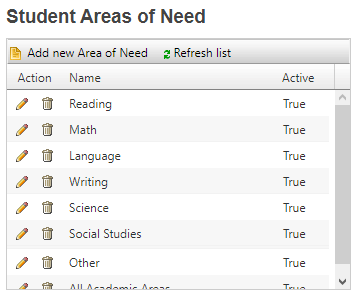
Student Areas of Need

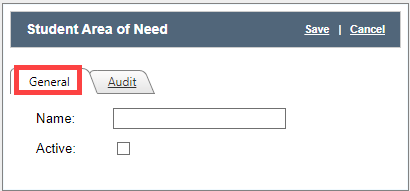
Add new Area of Need/Edit
General Tab
Name : Name of Area
Active
Yes = True No = False
Audit Tab
Created on
Created by
Modified on
Modified by
Sync Source
SyncId
Sync Time
Click Save

Table
Action
Name
Active
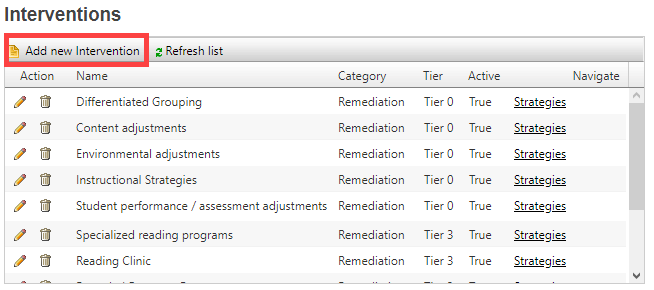
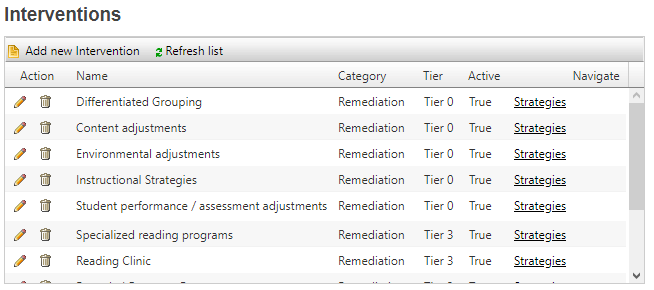
Interventions
Interventions are contained within Plans and are meant to support the plan. They are intentional instruction strategies that are aimed at specific skills that are needed ranging in multiple tiers (Tier1 to Tier 3).

Add new Intervention
General Tab
Active
Yes = Checked, No = Unchecked
Name: Name of Intervention
Category: Category/Type of Intervention
Tier: Select a Tier 0-3

Description Tab: Textbox for entering detailed description of the intervention

Audit Tab
Created on
Created by
Modified on
Modified by
Click Save

Table
Action
Edit
Delete
Name: Name of the Intervention
Category: Category/Type of Intervention
Tier: What level of Intervention 0-3
Active
Yes or No (Yes = True, No = False)
Navigate
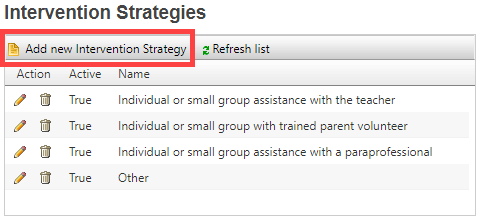
Strategies
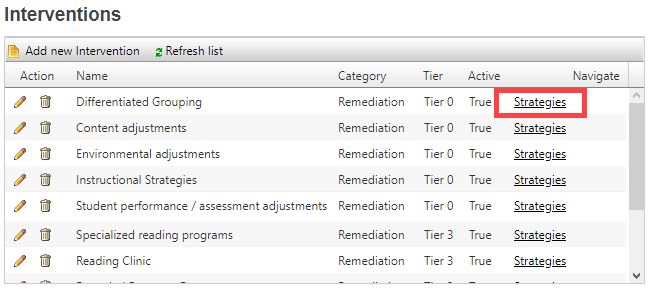
Add new Intervention Strategy/Edit
General Tab
Intervention: Name of the intervention. This is set on the intervention page (Not editable)
Name: Name of the Strategy
Active
Yes = Checked, No = Unchecked

Description Tab: Textbox for entering detailed description of the intervention

Audit Tab
Created on
Created by
Modified on
Modified by
Click Save

Table
Action
Edit
Delete
Active
Yes = True
No = False
Name: Name of Strategies

Related Articles
Making and Managing District Interventions List
Managing/Making Changes to the Interventions List Districts have the opportunity to customize the interventions list so that the intervention selections that are available to teachers pertain to their school district. This document will walk you ...Plans Admin Setup
Plans are associated with one or more Programs (ie GATE, ELL,504 etc). They can be created in Mileposts and contain Interventions, Progress Monitors, Notes, Attachments, etc. Plans are audited annually but can be ongoing. If the Plan Navigate option ...Setup the Nightly Sync
Silverback client services will generally setup the nightly job that is responsible for sending students, teachers, classes and class rosters to Edify Assess. The nightly job setup is found by following the navigation below. Mileposts Admin -> Job ...Programs Admin Setup
Students participate in Programs that are standard or defined by the district (ie GATE, ELL,504 etc). Programs Page Add New Programs/Edit General Tab Name: Name of the Program Public Key: This will auto generate (No action needed) Active: Is the ...PowerSchool SIS Synchronization Setup
The following instructions will set up an automatic and secure synchronization of student information, teacher information, courses, classes and class rosters from your PowerSchool system to the EdHub system. Once this setup is completed this ...